Nin Online Guides
General Leveling Information
This section contains tips and information applicable to leveling in any village.
Role-Play (RP) Missions
Every ninja has access to additional missions called RP Missions, which Chunin Ranked Ninjas and above can host. These missions are unique to the individual hosting the mission. However, these mission require you to role play as your in-game character. On completion, you will receive a special token to give to the NPC found at the mission desk.
There are 7 RP Missions:
- RP Mission I [lvl.12] - 11,600 XP
- RP Mission II [lvl.17] - 34,850 XP
- RP Mission III [lvl.22] - 52,066 XP
- RP Mission IV [lvl.27] - 98,400 XP
- RP Mission V [lvl.32] - 168,000 XP
- RP Mission VI [lvl.37] - 241,000 XP
- RP Mission VII [lvl.42] - 283,000 XP
NPC Given Missions (General)
These missions can be found across the world and are available to all players who meet the level requirements.
Sansan's Gold [any level]
This is an easy find-and-deliver mission that can be acquired in Totori Village. Reward includes the Cloak of Invisibility Manual.
Mission Objectives:- Find and deliver the gold bars
Hide & Seek [any level]
This mission is accepted by talking to Miki located at playground in the Leaf village. Reward includes the Cloak of Invisibility Manual.
Mission Objectives:- Find Miki, Kimi and Oku
Benkei's Tools [lvl.10]
This mission is accepted by talking to Benkei in Takumi village. Completing this mission allows you to access his crafting abilities to create Veiled Sakkat.
Mission Objectives:- Find Benkei's Tools
Yozo the Bozo [lvl.20]
This mission is acquired from Yozo at Tanzaku. This mission is RNG based and time consuming, so many skip this mission.
Mission Objectives:- Gamble in Tanzaku Quarters and earn 500 Ryo. (200/500)
Dull Edges and Sharp Minds [lvl.20-25]
This mission is acquired by interacting with a poster in Takumi.
Mission Objectives:- Defeat Guren, found upstairs from Takumi mission room.
Kiari's Parcel [lvl.22]
This is an easy delivery mission that can be acquired at Asoki Port. However you must go to Tanzaku to receive Ritsuko parcel to deliver to Kiari.
Mission Objectives:- Find Ritsuko and get Kiari's parcel from her. Bring the parcel back to Kiari.
The Venemous Requirement [lvl.23]
This mission can be found at the Abandoned Lair. After completing the mission, Ko will let you use teleport seal to reach the upper level of snake lair (You need flicker technique to use it).
Mission Objectives:- Ko wants you to get him 100 snake venoms, they drop from Snakes.
Honey Hive Hunt [lvl.25]
Ayako the bee keeper from the Tanzaku Quarters needs your help in producing her next batch of honey! This is a 2 part mission.
Mission Objectives:- Destroy 15 Bee Hives (0/15)
- Bring Ayako 30 Honey Comb
Lover's Quarrel [lvl.27]
This mission can be acquired at Asoki Port and it easy to complete.
Mission Objectives:Help Nori and Renma solve a lover's quarrel.
- Option 1: If you tell Nori that Renma has appologized about calling her a hoe, Nori will accept it but it's not enough.
- Option 2: If Renma wants to appologize about forgetting their anniversary, he will ask you to go find a rare flower located on the Edge of Fire North-West of here, near the Cursed Cave. (If this is done successfully you will complete the mission with bonus EXP)
- Option 3: If you tell Renma that Nori called him a womanizer it will not progress the mission, but at least you can make him quit drinking.
Okada's Debt [lvl.30]
This mission is similar to Yozo the Bozo. Most tend to skip it due to the RNG aspect.
Mission Objectives:- Gamble in Tanzaku Quarters and earn 1000 Ryo. (200/1000)
Haji's Sword [lvl.30]
This mission can be found at the basement of the Abandoned Snake Lair. You will have to complete The Venomous Requirement mission to have access to the teleporter. The correct sword is is found in the basement called the Dragon Hilted Sword.
Mission Objectives:- Haji wants you to find his lost sword.
Demon Claws [lvl.33]
To get this mission you need to go to Bears Map and find NPC called Tomia.
Mission Objectives:- Kill (0/40) Bears
Blocked Entry [lvl.36]
To get this mission you need to go to Bandit Bridge and find NPC called Ku.
Mission Objectives:- Kill (0/1) Koji
Revenge on Kuraken [lvl.38]
Oson of the Angsan Clan, located on an island in the middle of the sea, asked for my help to take revenge on the sea beast, Kuraken. If you are not a Mist Ninja, this mission will be harder since you will lose chakra on water. It is best to do this mission in a team and to stack up on tools/pills.
She will not talk to you unless she deems you a generous person. To make her talk you need to give me any amount of Ryo to a homeless person inside the Mist Village named Kampo. He is found south-east off the entrance of the village.
Mission Objectives:- Defeat (0/8) of the Kuraken Tentacles
Gobori's Odd Request [lvl.40]
Gobori, a villager in Takumi Village needs your help with collecting some tails.
Mission Objectives:- (0/23) Raccoon Tails
- (0/23) Scorpion Tails
- (0/23) Rat Tails
Light Work [lvl.43]
To get this mission you need to go to Bandit Bridge and find NPC called Kodaku.
Mission Objectives:- Kodaku wants you to get him (0/5) Gray bear Paw's which drop from Glacial bear.
A Demon?? [lvl.45]
To access this mission you need to interact with chakra markings in the snow cave.
Mission Objectives:- Defeat the Chakra Demon
Advanced Leveling Tips (General)
These strategies apply to most villages and can help optimize your leveling journey.
- Experience Boosts: Keep an eye out for World Blessings! These significantly increase XP gain.
- Stamina Management: Efficient use of stamina (e.g., using Flicker Technique wisely, knowing when to walk vs. run) can significantly speed up travel and reduce downtime between fights.
- Party Play: If possible, grind in a party. You gain shared EXP and can take on harder mobs or complete quests faster. Communication is key!
- Money Tips: Loot everything. Many "junk" items can be sold to other players who want to speed up their daily quest completions or need them for crafting.
- Travel Wisely: Memorize the safest and quickest routes between villages, quest NPCs, and grinding spots. Using seals and understanding the world map is crucial.
Leaf Village Leveling Guide (1-60)
Levels 1-10: The Academy Days
Start with the tutorial & quests, then kill larvas, spiders and wolves found just outside the village.
Levels 10-15: Exploring Beyond
Each village has a special location for efficient grinding at early levels. Leaf has a map full of tigers (Takumi Tigers, south of Asoki Port), Sand has scarabs, and Mist has Ants.
Grinding in a group is the most efficient way to level up but each member must be within 9 levels to gain XP and are level capped to monster 10 level apart. However, grinding solo removes those restrictions.
The most efficient grinding location for many is Snakes found at the Abandoned Lair (accessible via Asoki Port area). Farming Snakes can yield around 200-300k XP/hour depending on DZ (Danger Zone) activity and your clear speed.
Once you reach level 10, you will have access to Leaf, Mist, Sand and Takumi Seal Missions. Completing these missions will help you reach level 14. However, you will have to travel a great distance to complete the mission. Additionally, the Takumi seals mission will unlock the Yuu Mini Questline, which will provide additional quests and rewards. Refer to the "Seals Guide" tab for locations.
Levels 15-20: Mobsters Mini Questline PART 1
Once you reach level 15, you will unlock the mini questline at Tanzaku by speaking to Takabe in the Tanzaku slots (77) building. These missions are split into multiple parts ending with defeating the mob boss Shizu. Killing the mobsters can be a nice source of Ryo for these levels because of the number of drops. This first part will give you 1-2 levels with a World Blessing.
After defeating Shizu and completing the first quest, you’ll unlock the second part of the questline at level 24.
Levels 20-24: Land of Waves Arc
Once you reach level 20, you will gain access to the Land of Waves Arc found at your village mission room. These missions are fairly easy to complete in one sitting and the monsters there give great XP. Completing this questline will give you 3-4 levels, another extra level if there is a World Blessing.
Additional Grinding [Difficult]
These methods of gaining additional XP are very difficult and requires a team to help you farm bosses. These bosses are high value targets for their rewards they drop so always expect enemies lurking.
Note: The objective for the individual that wants to receive XP is to land the final hit on the boss. For this to work, everyone who helped lower the health of the boss must relog to reset the damage logs. This method works only for a single person since being in a team triggers a level cap on which monsters you can gain XP.
Last Hit Bosses [1 hr CD]
- Monkey King - 45k XP [Blessing]
- Dark Weasel - 22k XP
Levels 24-30: Mobsters Mini Questline PART 2
After completing the Land of Waves Arc, you will have access to the next questline at level 24 by speaking to the guard named Pedro in Tanzaku. This questline will provide enough experience for the next 3-4 levels, another extra level if there is a World Blessing.
Levels 30-40: Land of Toads Arc
Once you reach level 30, you will gain access to the Land of Toads Arc found at your village mission room. These mission require more grinding as you will need a certain amount of items for some mission. Completing this questline will give you 3-4 levels, another extra level if there is a World Blessing.
One of the missions requires solving a puzzle, it is best to do it walking or flicker to a teammate until you reach the end. You will lose health every time you take a wrong step. The final tiles are insta-kill so be careful.
After finishing this arc, focus on completing daily missions.
Levels 41-45: Bandit Arc
Unlike the previous questline, the Bandit Arc will take place within the Ninja General Map. However you must first accept the questline at your village mission desk. With the recent nerf in XP for this questline, you will gain 2-3 levels with a World Blessing.
Levels 45-50: Sea Mini Questlines
After you reach level 45, the next time you enter the South Eastern Sea, you willhave unlocked the cave in the island present in this map to start the level 45 mini questlines. This questline will provide a great amount of experience and additional rewards.
Levels 50-60: Second Mastery & Land of Iron Arc
Congratulations, you made it to your second mastery! Once reaching level 50, you will be granted access to the final questline. There is no more NPC Given Missions beyond this point. You will be leveling with your daily missions and questline if you choose to do so.
The infamous Land of Iron Arc! This questline is the hardest questline in terms of time spent and monsters. Many ninjas do not bother to do this questline for these reasons. However, this questline has bosses that drop the best weapons in the game! The leveling to 60 is mostly done with daily missions unless you do this questline.
Sand Village Leveling Guide (1-60)
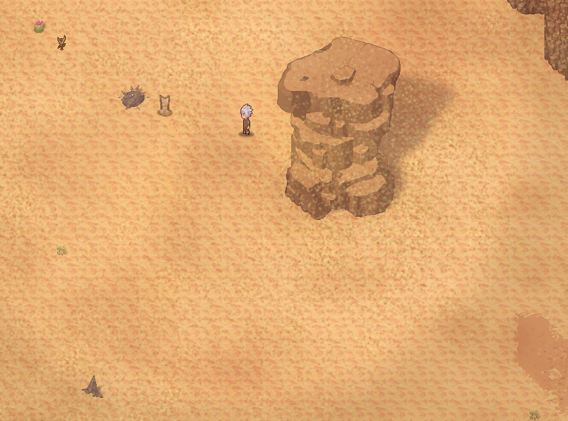
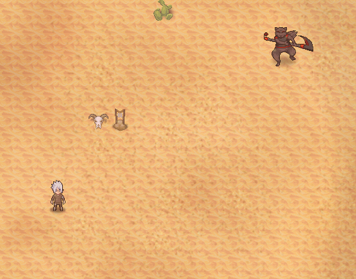
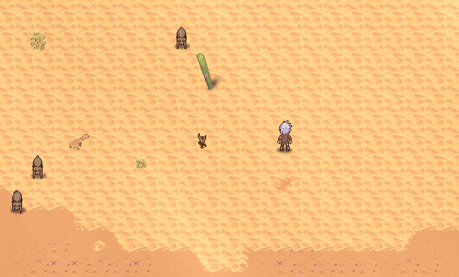
Levels 1-10: Desert Beginnings
Start with the tutorial & quests, then kill coyotes or scorpions found around the village outskirts.
Levels 10-15: Seals and Early Quests
Focus on Daily missions (available from your village mission board) and completing all village Seal Quests (Leaf, Sand, Mist, Takumi - see Seals Guide tab). The Yuu Mini Questline (Ghost/Spirit Boss Quest in Takumi) is also good. Continue farming Coyotes or Scarabs in the desert areas near Sand Village. Don't forget RP Mission I if available.
Levels 15-20: Improved Dailies
Continue farming Coyotes/Scarabs. At level 16, Daily missions offer significantly better XP. Complete RP Mission II.
Levels 20-25: Arc Time and Side Quests
Start the Level 20 Arc questline from your village mission room. Farm Large Scarabs or Snakes (Abandoned Lair). Complete Dailies. Also, do the Asoki and Takumi side quests, including "The Venemous Requirement" (see General Info tab). Complete RP Mission III.
Levels 25-30: Consistent Grinding
Continue with Daily missions and any remaining side quests. Farm Large Scarabs or Snakes. Complete RP Mission IV.
Levels 30-35: New Arc and Challenges
Begin the Level 30 Arc questline. Farm Snakes. Finish dailies. Complete the "Haji's Sword" quest in the Snake Lair and the Bear Hermit Quest (Demon Claws mission from Tomia in Bears Map - see General Info). Complete RP Mission V (Jonin+ rank may be required for hosting/joining some RPs).
Levels 35-40: Mid-Tier Progression
Farm the Level 30 Arc mobs/bosses if efficient. Complete the "Revenge on Kuraken" tentacle mission and other side quests. Complete RP Mission VI.
Levels 40-45: Late Game Quests
Do Daily missions and the Level 40 Arc. Complete "Gobori's Odd Request" and "Light Work" (Gray Bear Paws) side quests (see General Info). Farm Snow Wolves in snowy regions. Complete RP Mission VII (Kage rank may be required for hosting/joining some RPs).
Levels 45-50: Path to Mastery
Focus on the Chakra Demon questline and the Sea Questline. Continue with Daily missions and farming Snow Wolves.
Levels 50-60: The Final Stretch
Complete the Level 50 Arc (Land of Iron Arc) and keep up with Daily missions.
General Sand Tips
Mist Village Leveling Guide (1-60)
Levels 1-10: Starting Out
Step 1: Mist Village Introductory Quests
Upon spawning in Mist Village, complete the main village introduction quest chain. These will familiarize you with the map and village layout, and get you to around level 4.
Step 2: Stat Allocation
Dump all your stat points into Agility (AGI). This boosts your basic attack speed, which is ideal for early grinding.
Step 3: Fox Grinding
Grind Mist Foxes near the village until you hit level 10. Be efficient: attack, retreat, and repeat. AGI builds can farm mobs quickly with melee or basic tool spam.
Levels 10-20: The Seal Quests & Takumi Storyline
Step 1: Choose Your Mastery
At level 10, select your preferred elemental mastery at the village's skill trainer: Taijutsu, Ninjutsu (Water, Fire, Wind, Lightning, Earth), Weaponmaster or Medical.
Step 2: Complete the Seal Quests (10-13+)
All of these give high EXP and are travel-oriented. Refer to the "Seals Guide" tab for locations.
- Mist Village Seals
- Leaf Village Seals
- Sand Village Seals
- Takumii Village Seals
These quests involve traveling and unsealing different statues. Be careful of hostile zones, especially outside of Mist.
Step 3: Yuu Questline in Takumii (13-15+)
Head to Takumii Village and start the Yuu Story Questline by interacting with the door inside the cave north of Takumii. This involves helping a mysterious character named Yuu with her missions.
Step 4: Benkei's Tools Questline (15-16)
Still in Takumii, begin Benkei's Tools Questline.
Step 5: Tanzaku Mobsters (16-18+)
Go to Tanzaku Quarters west of Leaf Village and start Tanzaku Mobsters questline in Tanzaku Quarters.
Step 6: Grind or Do Dailies to 20
You'll likely be level 18-19 now. Either grind more mobsters, desert bandits, or do daily missions (available from your village or neutral zones). Dailies like bounty hunting, patrols, or delivery missions scale with your level and give good EXP.
Levels 20-30: Arc Quests Begin
Step 1: Mist Arc 20 Questline (Starts at 20)
Head to the Admin Building in Mist Village and begin the Arc 20 Main Storyline. This involves combat missions, story NPCs, and traveling. By completing this arc, you should reach level 25–26.
Remember to turn in quests during EXP blessings. This arc contains some of the most rewarding quests so far.
Step 2: Grind & Dailies (26-30)
Now that Arc 20 is complete, your options are:
- Daily Quests: Consistent EXP, especially when blessed.
- Grind Spots:
- Arc 20 Train (Great for both single target and AOE)
- Tanzaku Mobsters
- Snakes in Abandoned Lair (Great for AOE farming)
- Hornets west of Asoki
Try to team up for faster grinding.
Levels 30-40: Land of Toads Arc & Mid-Game
At level 30, the Land of Toads Arc 30 Questline unlocks in your village mission room. This continues the main storyline and will provide significant experience. Expect more difficult mobs, boss fights, and multi-step objectives.
Supplement the Arc quests with Daily Missions. Refer to the "General Info" tab for NPC Given Missions like "Haji's Sword" or "Demon Claws" if you are in those level ranges and areas.
Levels 40-50: Bandit Arc & Advanced Challenges
The Bandit Arc Level 40 will be your primary focus. These quests often involve more complex mechanics and tougher enemies.
Continue doing Daily Missions. High-level grinding spots might include deeper sea areas, hidden caves, or specific islands. Grouping up for these can be very beneficial.
Consider tackling world bosses or more challenging NPC missions like "Revenge on Kuraken" or "Gobori's Odd Request" if you haven't already and are appropriately geared/teamed.
Levels 50-60: Path to Mastery & Land of Iron Arc
Upon reaching level 50, you'll unlock your second mastery slot. This is a significant power boost!
The Land of Iron Arc will be the main questline. This will be challenging and may require a good team or strong build.
Daily missions remain a crucial source of EXP. High-level grinding will be necessary to bridge any gaps. Look for elite mobs or areas specific to Mist's endgame content.
Additional Mist Tips
Seals Guide
This guide details the locations of various seals found throughout the ninja world, often required for missions.
For visual aid and more community guides, check out the Universal Ninja Academy Discord.
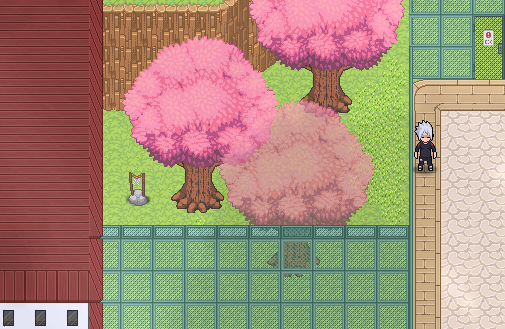
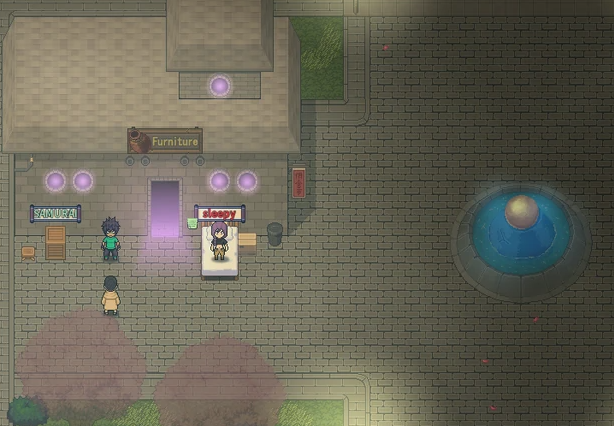
Leaf Village Seals
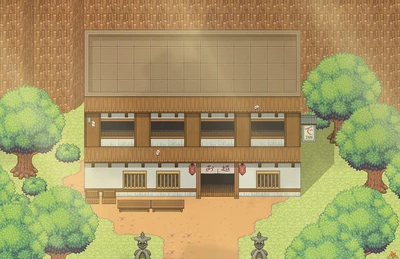
When entering the village head to the inn located at the top right-hand side of the map. The mission is given by the Innkeeper, who will give the mission to collect all four seals located inside of the village.
Seal Location 1
Head to the top right-hand side of the map, head east through the festival and you will see the seal on the side of the mountain.
Seal Location 2
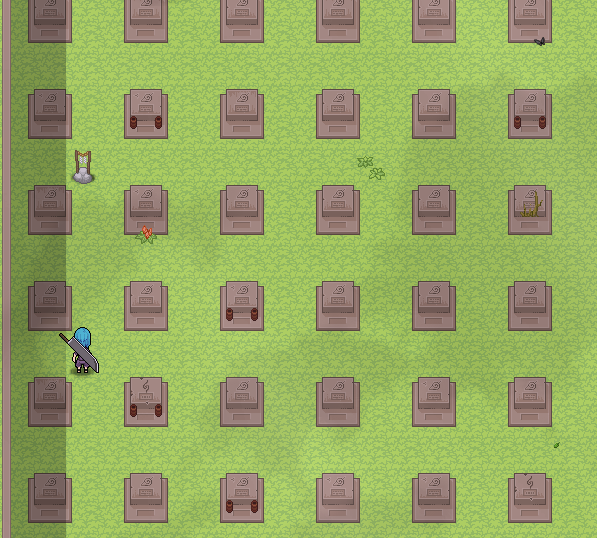
The next seal is in the graveyard, right above the LMPF building.
Seal Location 3
The seal is located east of the arena and just before the stairs to the river. Head through the green roofed building and you will see the seal just behind the building to the left.
Seal Location 4
The seal is on the right side near the water and below the bridge right after you enter the village gates.

Academy Gate Seal (Temple Access)
Another seal that opens the gate near the academy for quicker access to the temple flicker pad. Use the stairs near the academy and get to the flicker pad at the top to access this seal.
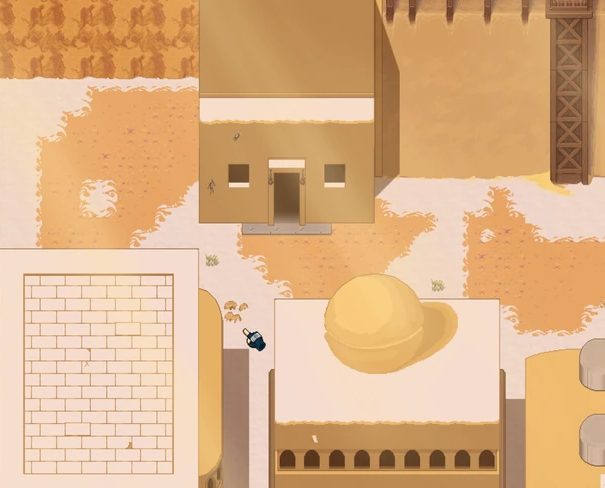
Sand Village Seals
When entering the village head east past the Sand Chunin and you will see an abandoned building. Upon entering the house you will see a scroll, interacting with it will give the mission to collect all five seals.
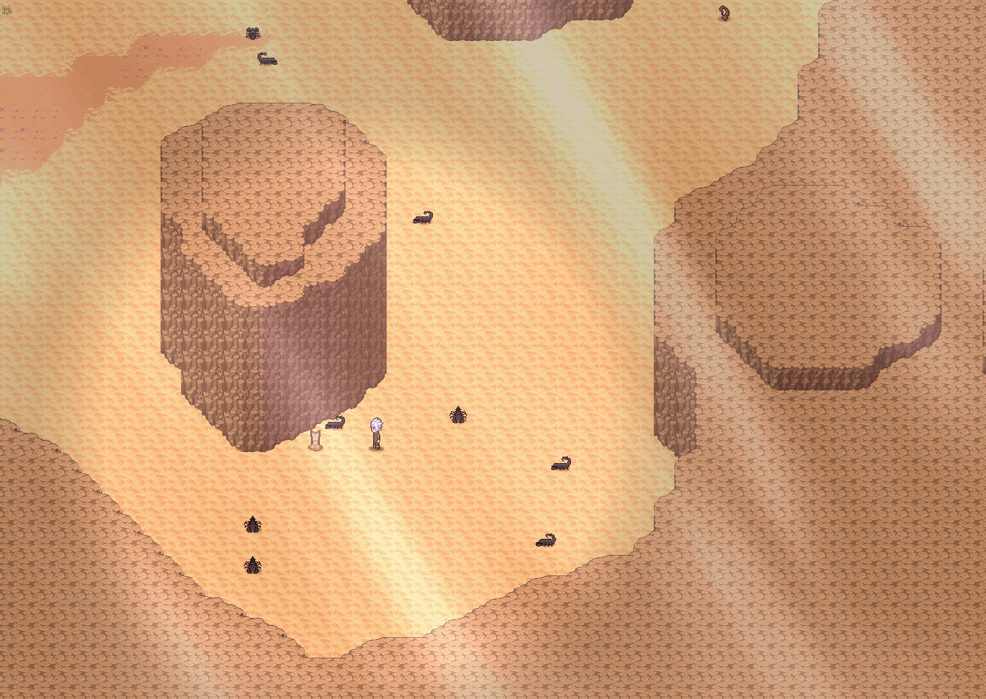
Sand Hive Grounds Seal
Located west of the Sand Village entrance, go through the Sand Nesting Ground and you will find yourself in the Sand Hive Grounds. The seal can be found on the rock in the bottom right-hand corner of the map.
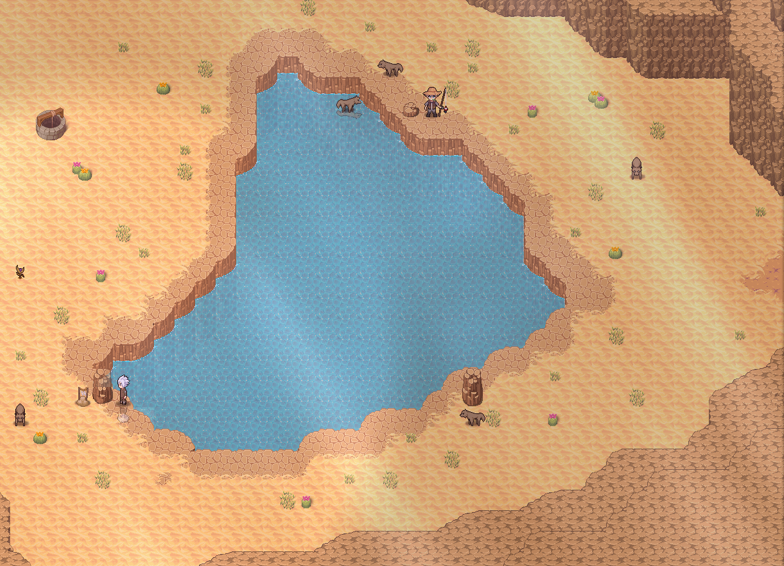
Desert Oasis Seal
From the Sand Hive Grounds head west and enter the West Desert Valley map, go through this map and you will find yourself in the Desert Oasis map. The seal can be found next to the small rock on the furthest side from the entrance.
Desert Warzone Seal 1
From the Sand Village entrance, head east, continue east through the Desert Palms map and you will find yourself in the Desert Warzone map. There are two seals located within this map. From the entrance head directly north to the very top of the map. The seal can be found next to some kind of buried cannonball.
Desert Warzone Seal 2
The second seal is on the bottom right-hand side of the map (Desert Warzone). The seal can be found next to the decayed skull.
Desert Road Seal
From the Desert Warzone map, head north, continue directly north through the Infested Desert Road map and you will be in the Desert Road map. At the top of the map there will be a cactus and obviously, the seal will be on it.
Mist Village Seals
After entering the village, head right until you see a plaza with a fountain. The mission will be given by Ikayasu, who will task you with finding the 5 seals inside mist village before trying to open the temple.
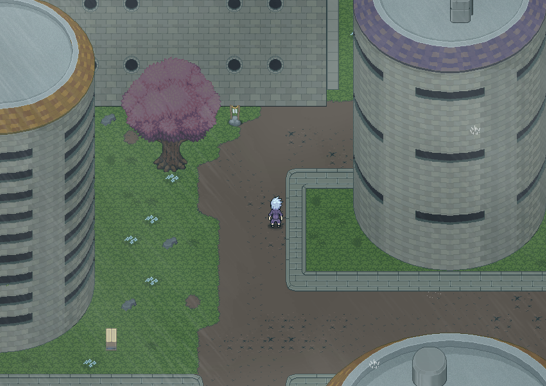
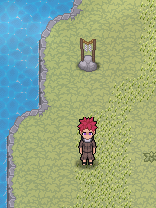
Mist Seal Location 1 (West Entrance Tree)
As soon as you enter the village through its western entrance, go up until you find the tree shown in the image, the seal is next to the tree.
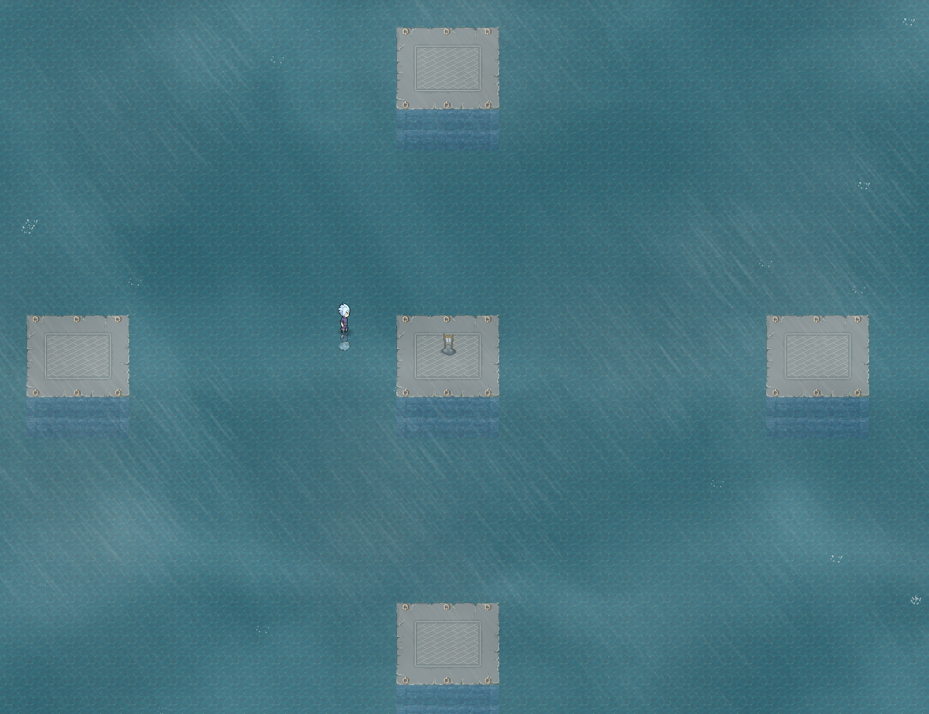
Mist Seal Location 2 (Top Platforms)
Going to the top of the village, you can use the stairs to walk on the water and reach a set of 5 platforms at the extreme top right of the village, the seal will be on the middle platform.
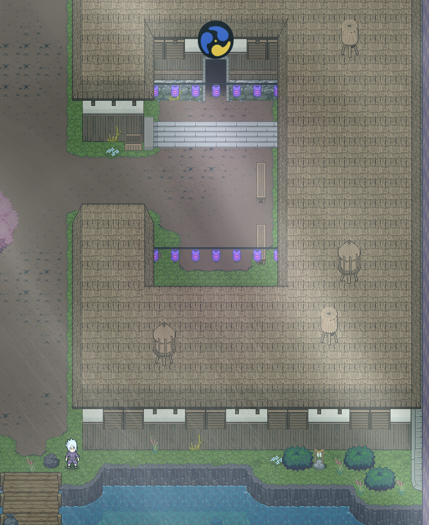
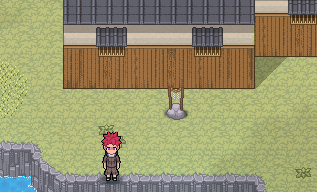
Mist Seal Location 3 (Behind Kazuki Clan House)
When entering the village through the western gate, go right until you find a fisherman fishing on a bridge, then go up the path right of the bridge, then left. The seal is behind Kazuki Clan House.

Mist Seal Location 4 (Near Academy)
In the extreme bottom left of the village, near the academy. Go above the academy where the trees are. You will see it on your left.

Mist Seal Location 5 (Below Hoshi Clan House)
Following the small river on the bottom of the village to its extreme right side. It's below Hoshi Clan House.
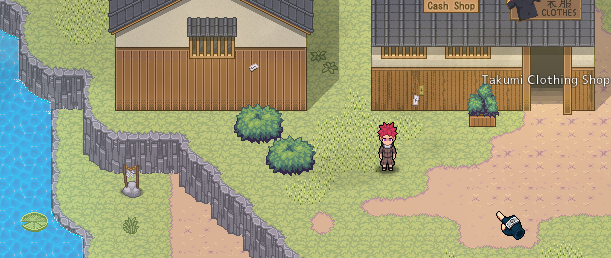
Takumi Village Seals
After entering the village, keep going straight and you'll see an NPC named "Yuu" near a tree. Interact with her to start the seal mission
Takumi Seal Location 1
After entering through the gate, go down immediately and you should see this seal.
Takumi Seal Location 2
On the bridge, right before you enter the gate, go up and you'll see this seal.
Takumi Seal Location 3
Keep going down (through the bridge) and turn left, you'll find this seal there.
Takumi Seal Location 4
After you pass through the bridge, go right. It should be near the Housing District.
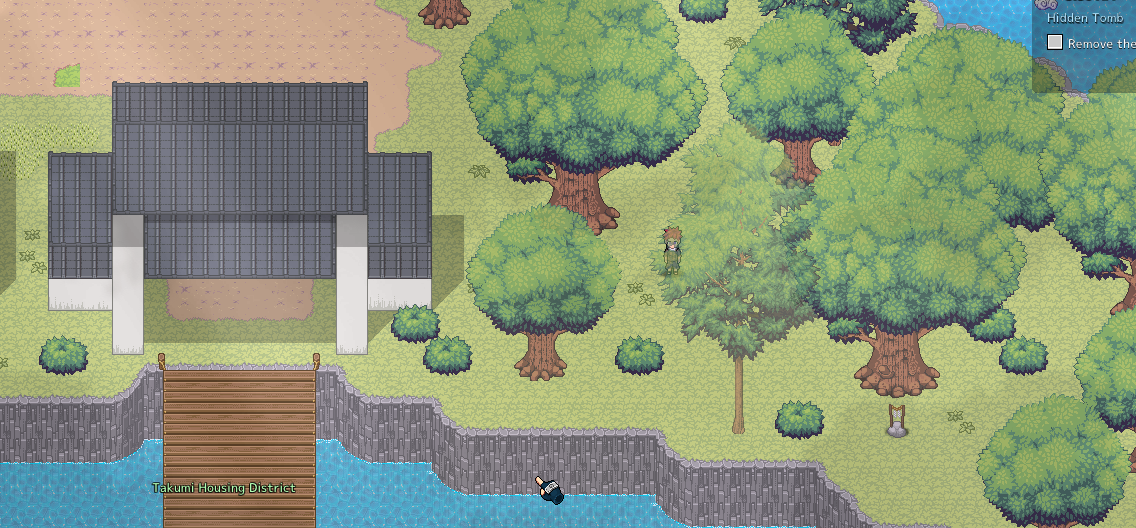
Takumi Seal Location 5
Below Yuu, near the Beast Tamer NPC

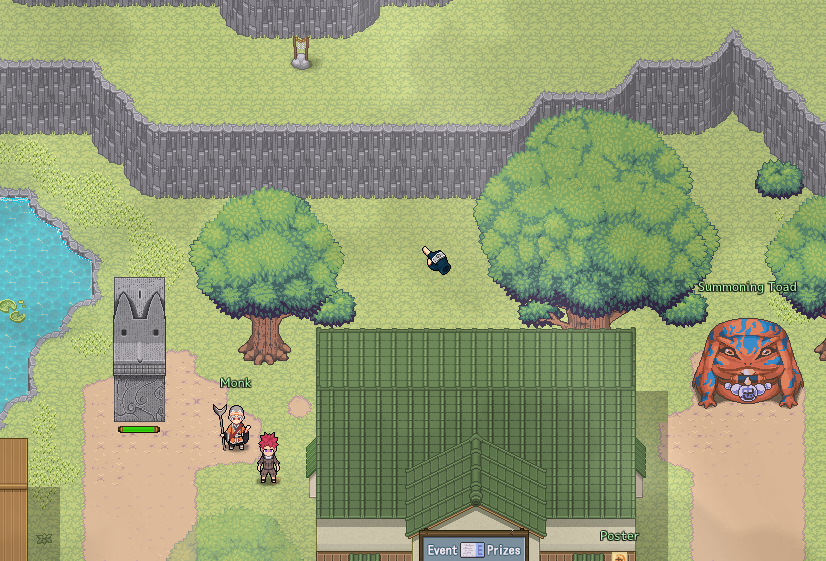
Takumi Seal Location 6
The seal itself is above Yuu, near the Summoning Toad. You will need to go left and climb some stairs and follow the edge of the mountain until you get to it.
Takumi Seal Location 7
Near the Summoning Toad, go right and go behind the wall. You will be in between the ridge of the mountain and the wall that surrounds the main house. You will find it there.
